Home landscaping
Late spring and early summer has seen a flurry of activity at home. While this is notionally a blog about the allotment, a bunch of work has happened at home to feed the gardening addiction – sadly to (hopefully short-term) the detriment of the plot itself.
The great shed shuffle
As described in the winter post, we want to move our 5x7 shed up to the allotment to make space for a greenhouse at home. The first step is constructing a new shed for our bikes, so there’s somewhere for them to live once we take down our old 5x7 shed.
So, in early spring, we built a new bike shed at home, for our bicycles, lawn mower, and miscellaneous garden equipment.
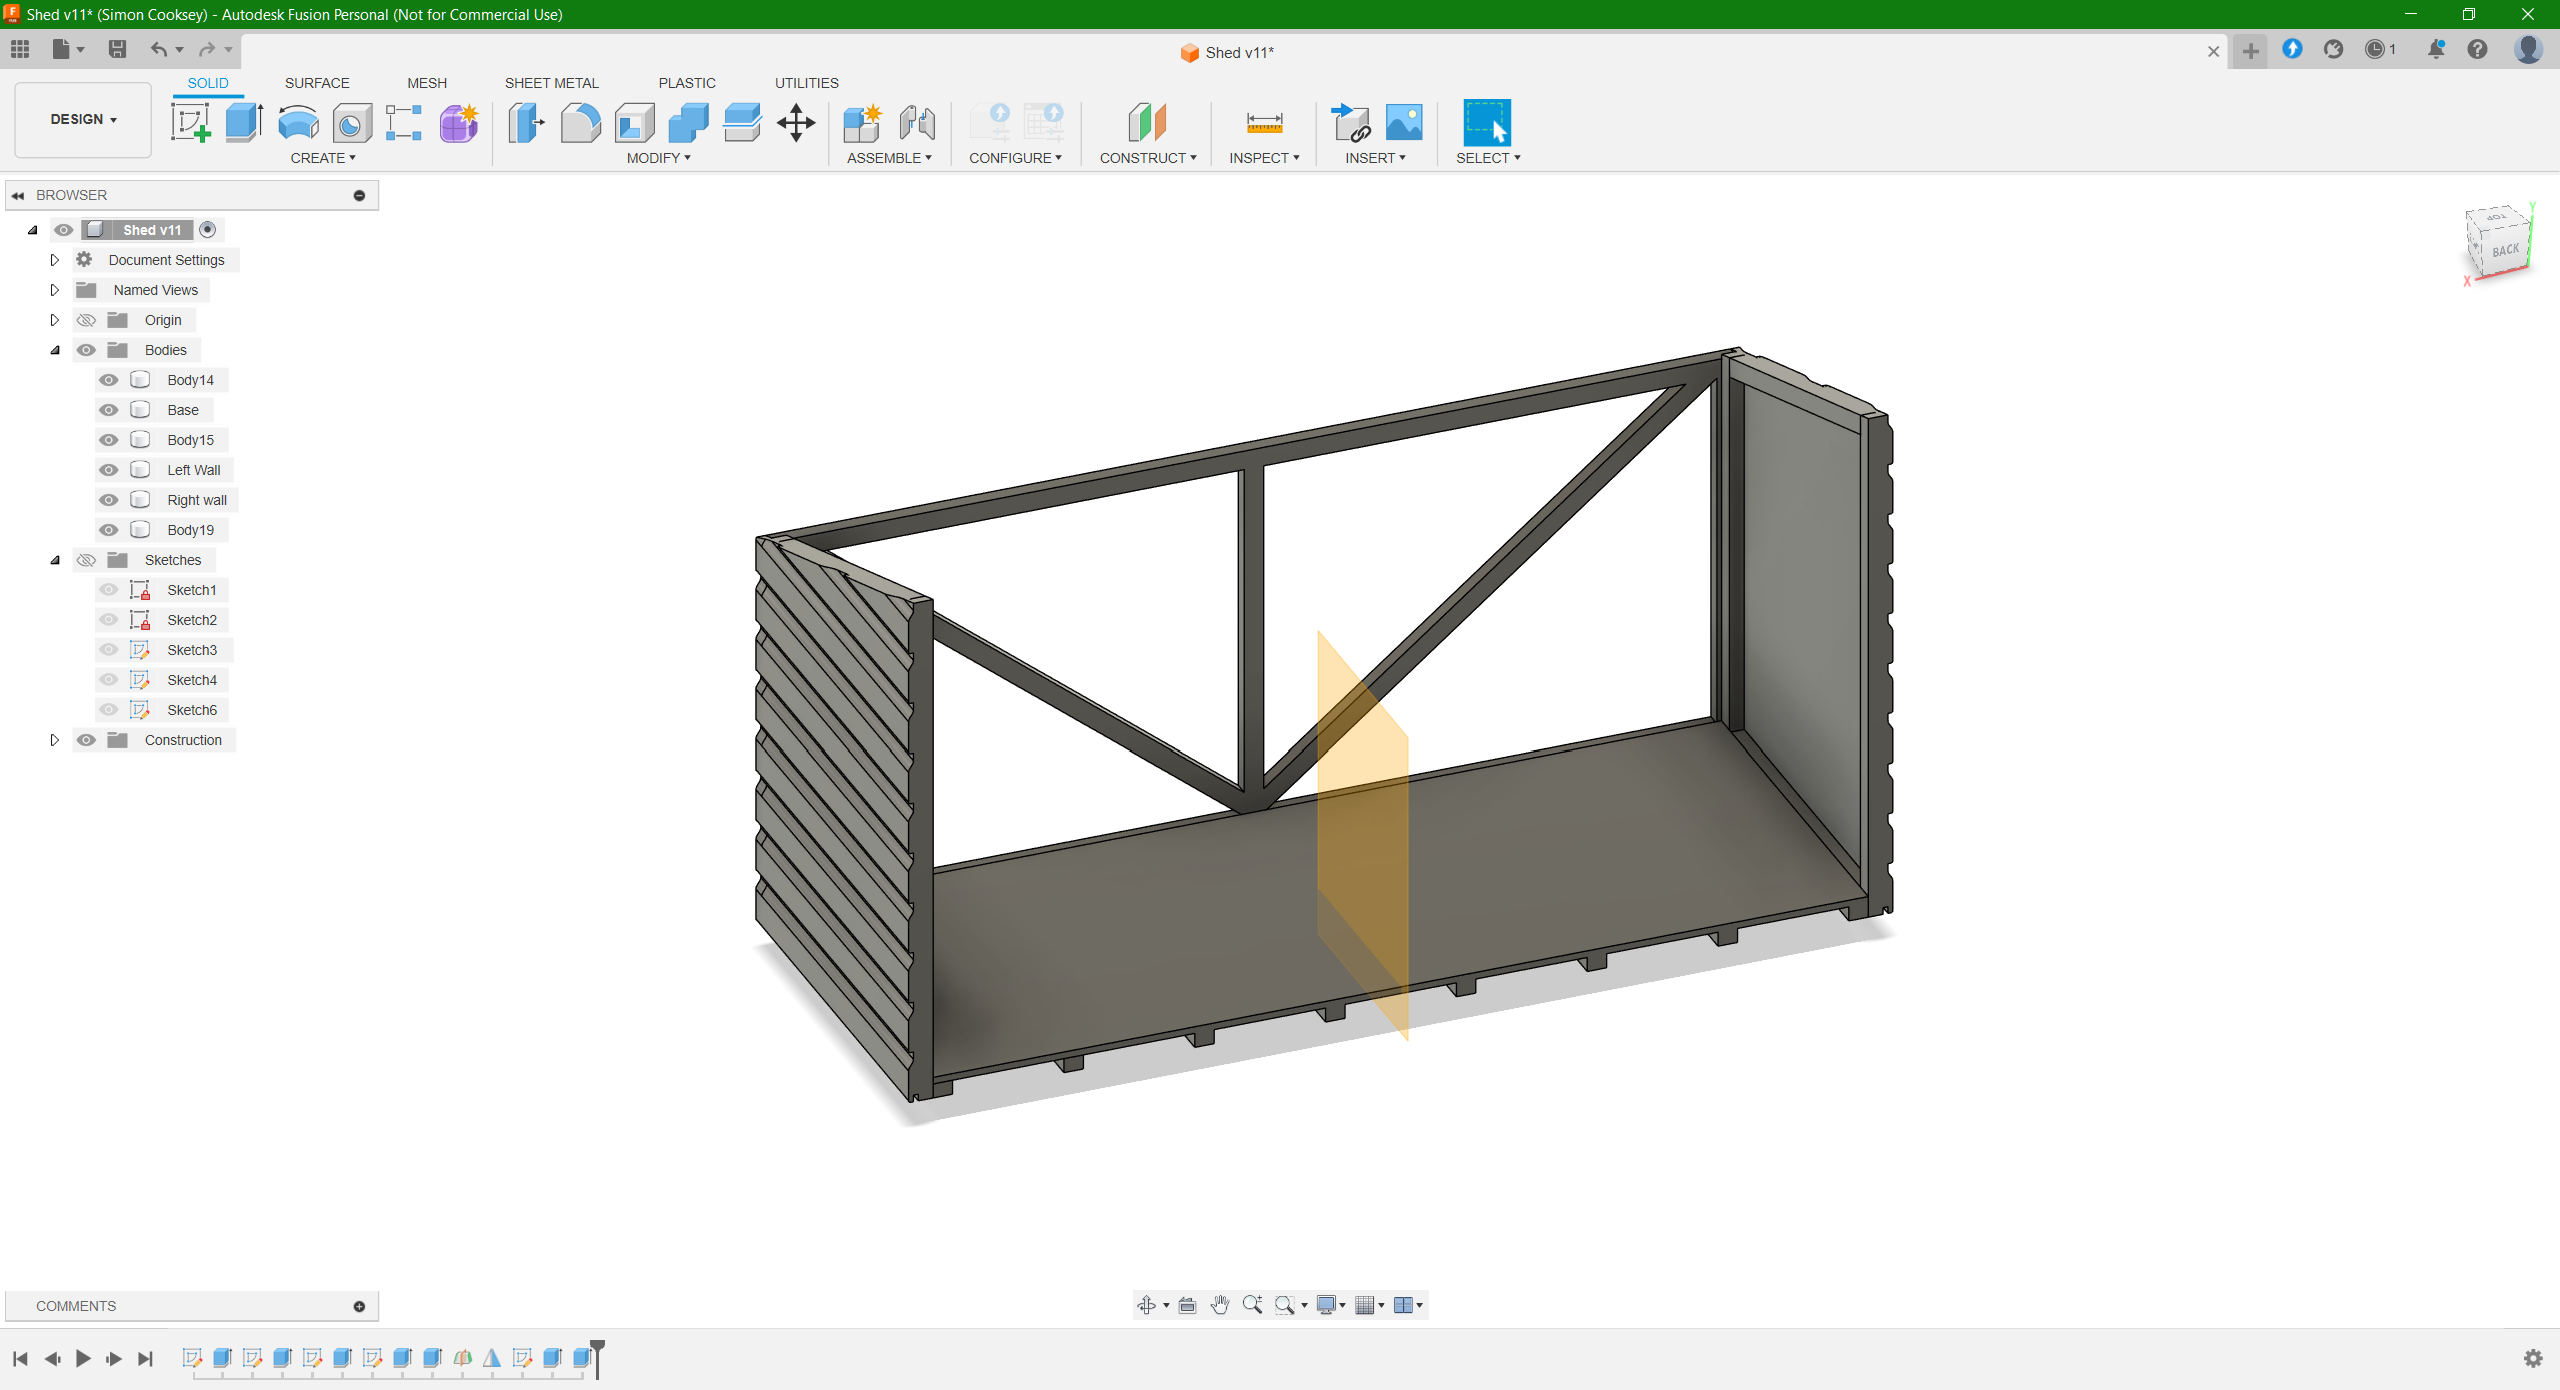
Shopping around we didn’t find any pre-fabricated sheds which were quite right for the space we have, so I designed something custom on the computer and built it with lumber ordered from our local timber merchant.
It arrived quickly and I could make a start!
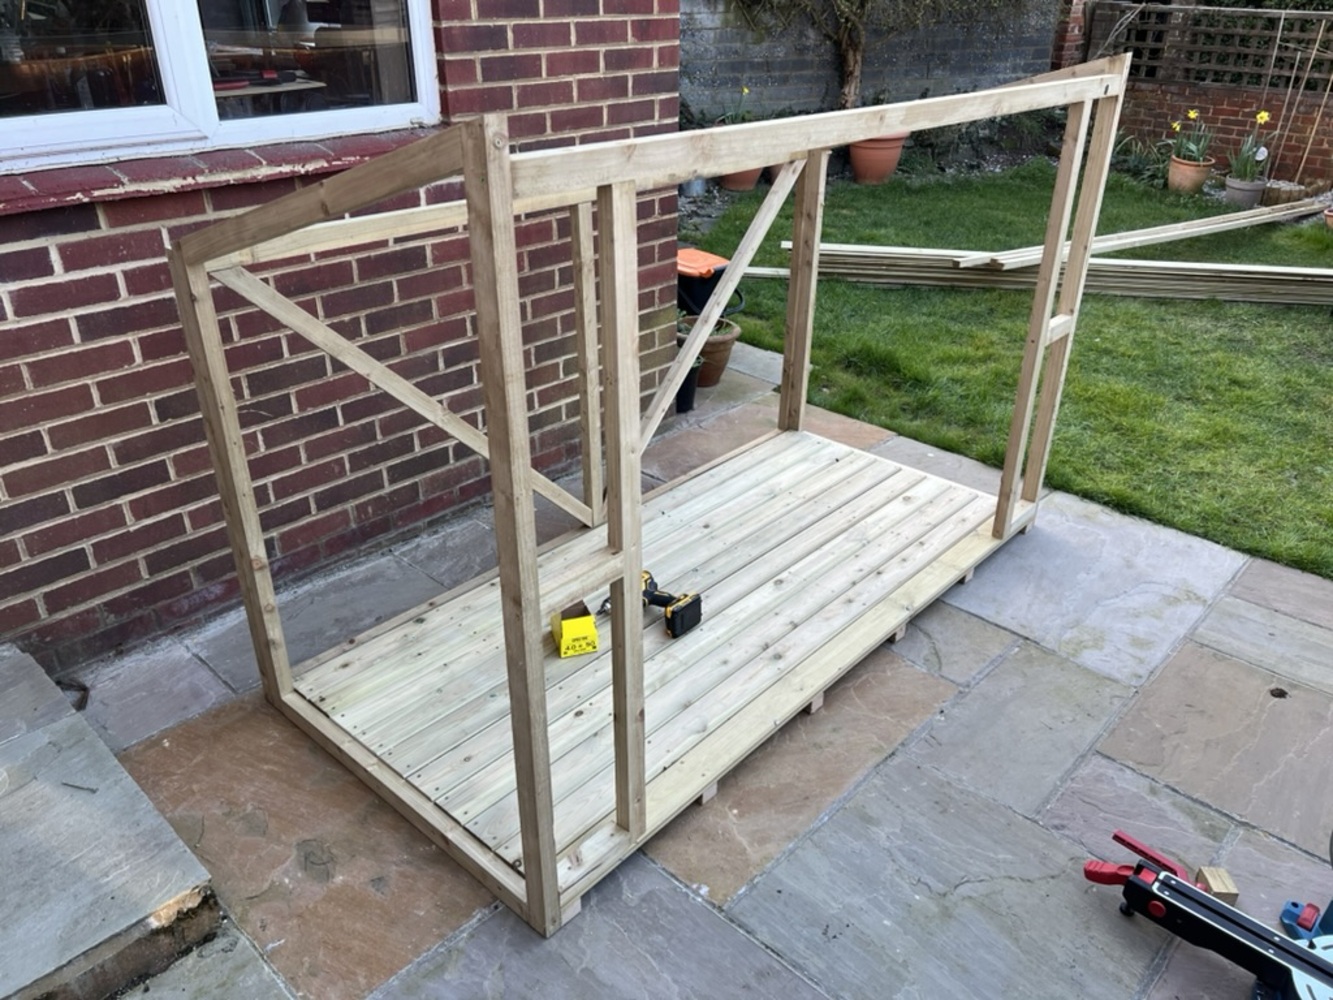
It took about 3 days to build all-in, and was very good fun. The frame is made of 2x3 sticks, the base is T&G flooring on 2x3 risers, the sides are made of 18mm shiplap, and the roof is 18mm OSB with a normal roofing felt top. Wood is so nice to work with: broadly forgiving, fast to chop and screw together, and nice looking. I bought a chop-saw to make quick work of all the cuts, and the tools required to build this were really tame. Saw, drill, impact driver, measuring/marking, and a hammer! I grabbed the hardware for the doors from a shop named literally Hinges and Brackets which is quite close to my house.
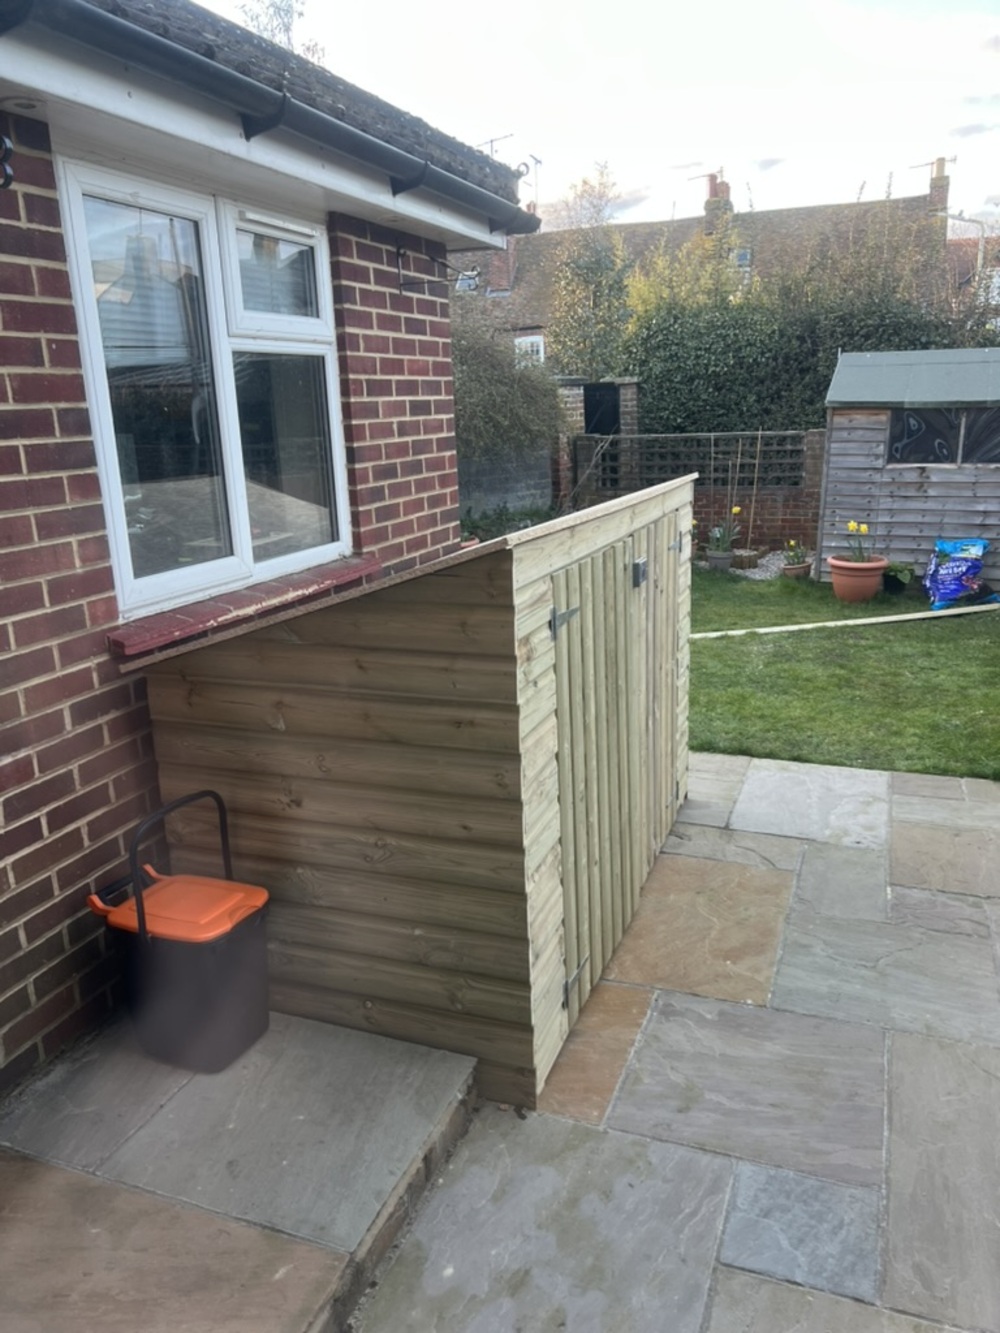
I’m very happy with the end result!
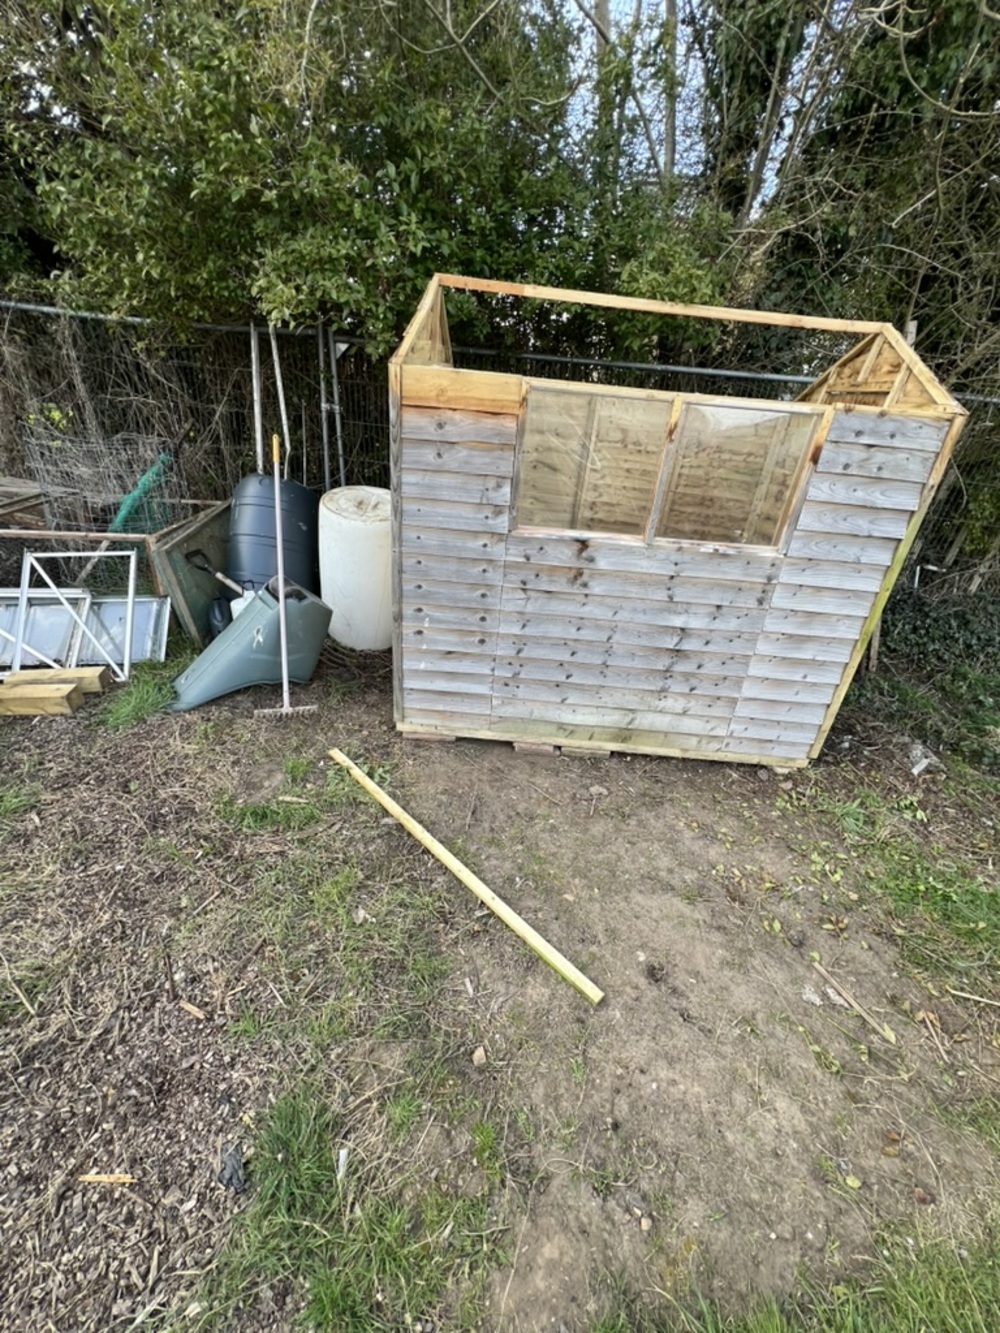
With a new bike shed built, the old shed was taken up to the allotment and plonked at the end of the plot.
Dismantling and re-assembling the shed was surprisingly quick and easy.
It also made it very clear to me how overbuilt I’d designed our new bike shed to be.
Almost all the wood is double the thickness and the whole thing is several times more rigid.
Over-engineering is my crutch for engineering appropriately.
On the plus-side, I didn’t spend 8 weeks debating what colour to paint it…
Greenhouse base and new borders
With the old shed removed, we called in some landscapers to help us with the hard landscaping.

I ordered a 6yd skip, and the landscapers dug out a footing for the greenhouse, leaving space for brick edging around it. Meanwhile, I dug out a couple of new borders. Down the side of our house and to the front there are small patches of scrub land, where building rubble and hardcore have been compacted and covered with gravel. I find myself spending a fair bit of my time weeding that area, and it’s generally quite scruffy and unlovable. So to remedy this, I dug out a border at the front and a large border to the side.
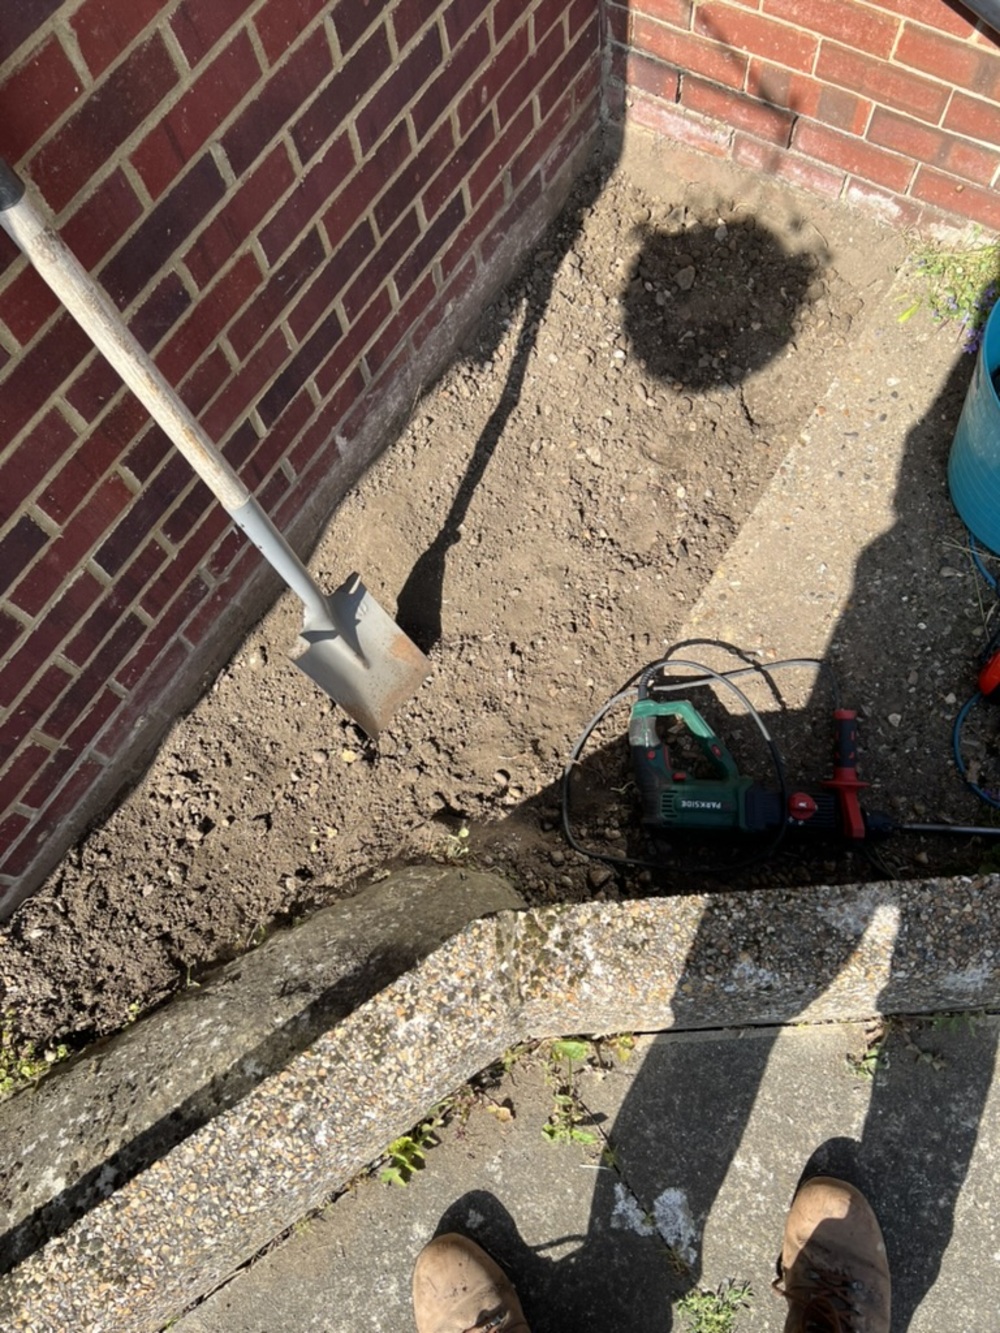
The smaller border is about 60cm by 1m, and the larger border is 1.5m by 2.2m. The areas directly around the house had about 20cm of compacted rubble, and then heavy clay with a decent number of bricks buried in it. The bricks appear to be as old as the main part of the house, so they’d been under there since the 40s. I dug down about 30cm in total, clearing rubble and bricks into the skip.
Once these were dug, the landscapers came back to put brick edging around the greenhouse base and the side border. I didn’t think the edging would make as big a difference as it does, but I’m very pleased with the end result. We filled the new borders with fresh topsoil and a few bags of manure. 1 bag for the front, and 3 for the side. I’ll mulch with more manure in the autumn. The drainage seems good, the topsoil we ordered is quite sandy, and it hasn’t shrunk back too much. A few weeks in the plants seem mostly happy, maybe not quite thriving, but nothing unexpected for a first season in after potting out.
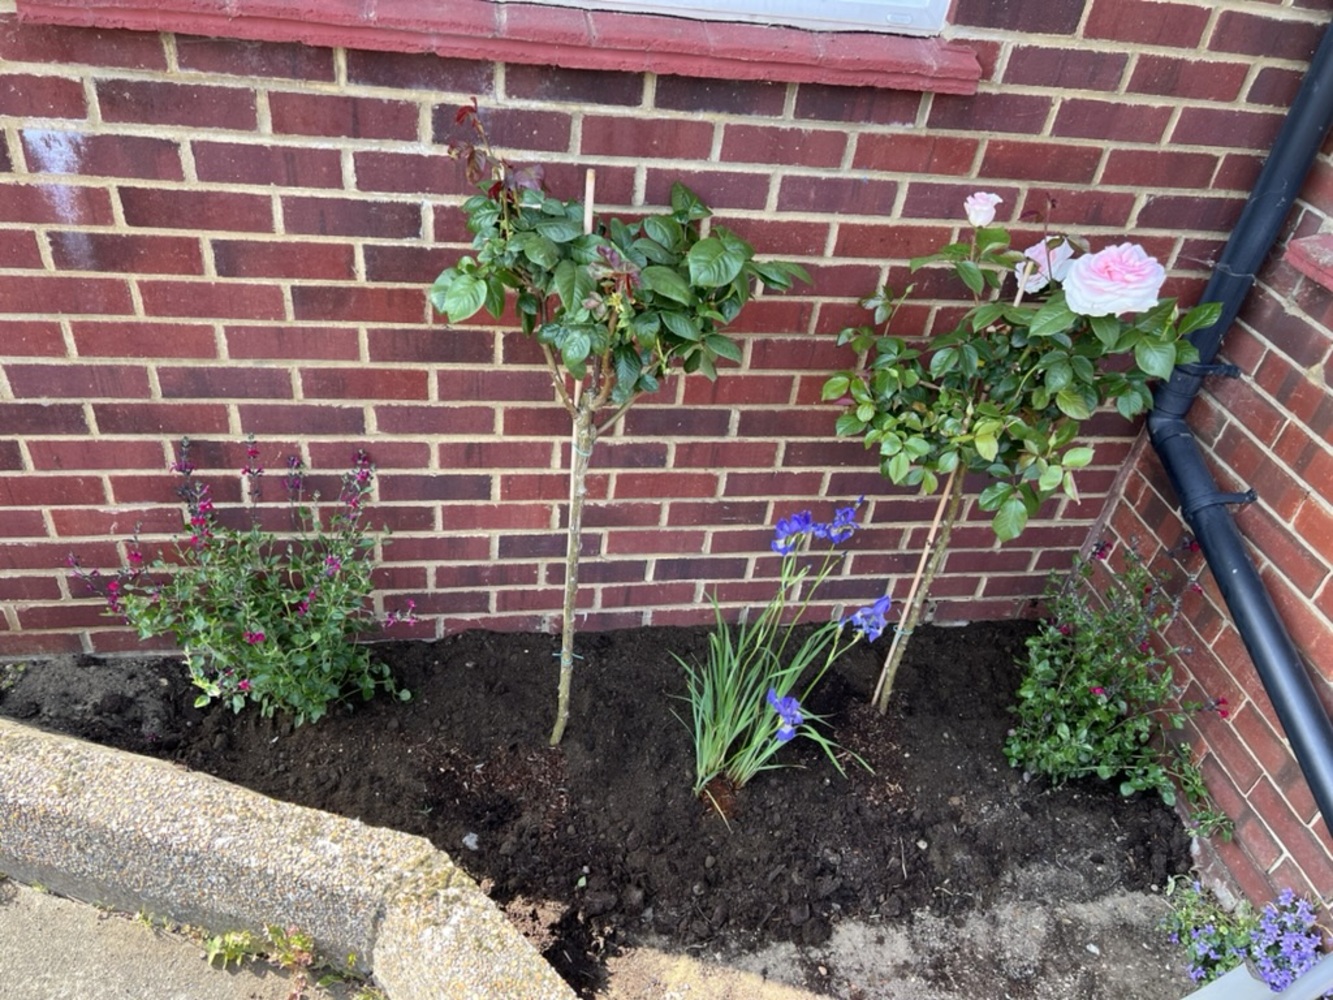
In the front border my partner and I picked a half standard rose each. We picked based on scent mostly. I chose ‘Golden Wedding’, and she chose ‘A Whiter Shade of Pale’. We underplanted the roses with an Iris Sibirica ‘Persimmon’ RHS, some Salvia ‘Cherry Lips’ RHS, and later a few Verbena Bonariensis RHS to fill the gaps. There’s a vision of pale pinks, blues, and purples in this border which is fundamentally ruined by the Golden Wedding rose – but I think it’ll look and smell excellent regardless. There’s no high-minded objective with the planting, but we are trying to pick plants which are reasonably hardy, and are good for pollinators.
In the side we did something similar, we picked a couple of shrub roses, a medium and an occasion hybrid tea, and a selection of other plants to surround it. The roses are ‘20th Anniversary’ (occasion hybrid tea, front left in the border) and ‘Princess Alexandra of Kent’ (medium shrub, back right in the border). Other plants are: Thalictrum ‘Splendide’ RHS (back left), Nemesia ‘Wisley Vanilla’ RHS (front left), Agapanthus (mid left), Foxgloves ‘Lucas white’ RHS (back left, back right), Salvia Nemorosa ‘Caradonna’ RHS (middle right), Cosmos ‘Double Click Cranberry’ RHS and ‘Candy Stripe’ RHS (front right), and I’ve since planted a couple of dahlias in the front-middle of the border.
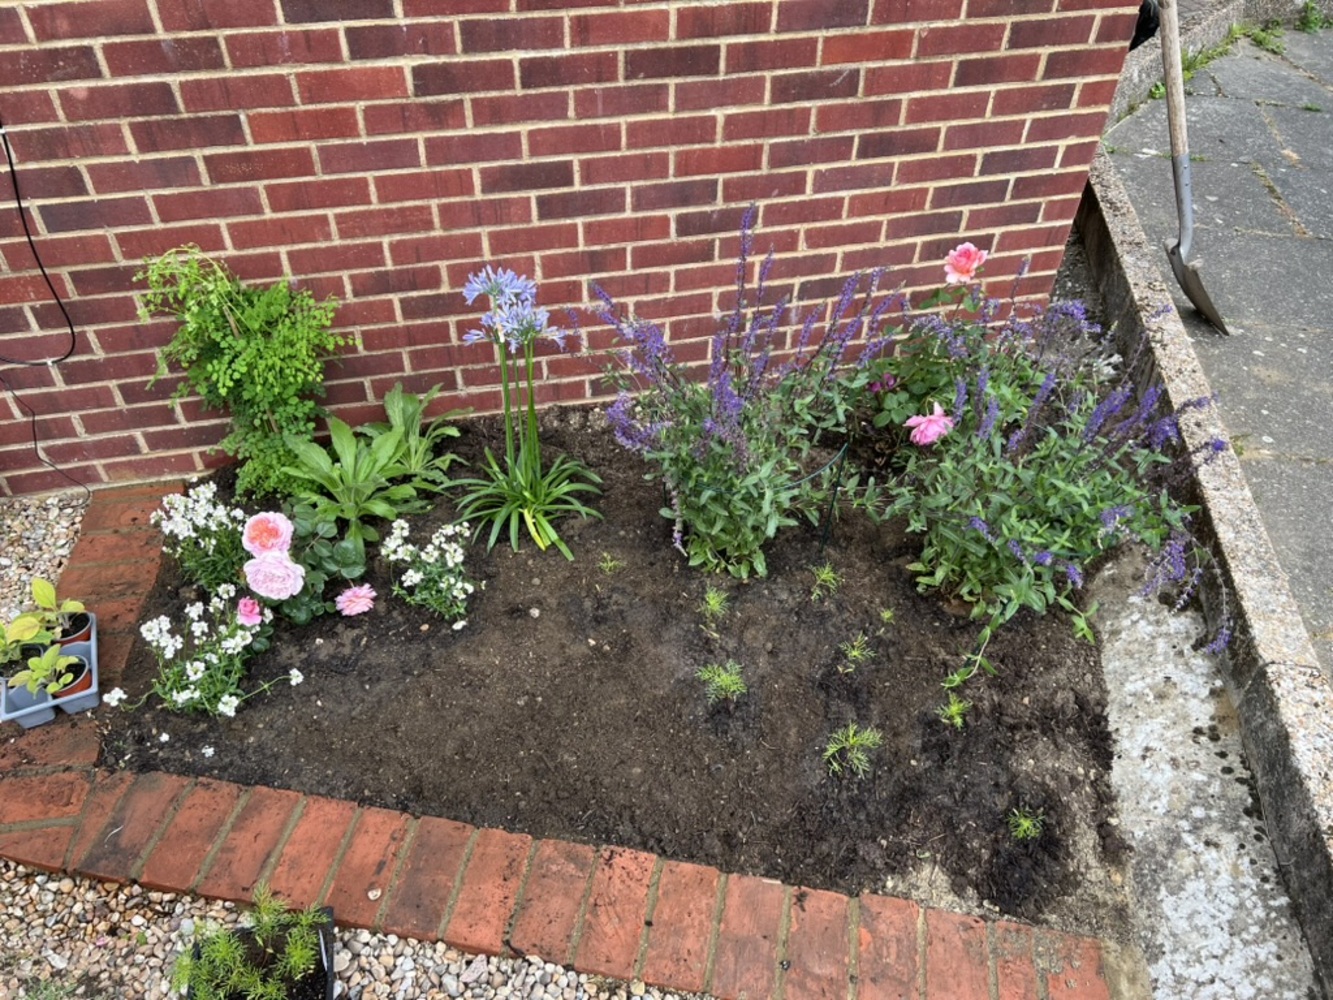
There is a space at the back of the border which I’m debating what to do with. My partner thinks a trailing rose growing up the wall, like ‘Gertrude Jekyll’, would be great, and I agree, but if I feel lazy and don’t want to put up a big trellis I might go with my original plan of a dogwood for some winter interest.
The greenhouse itself
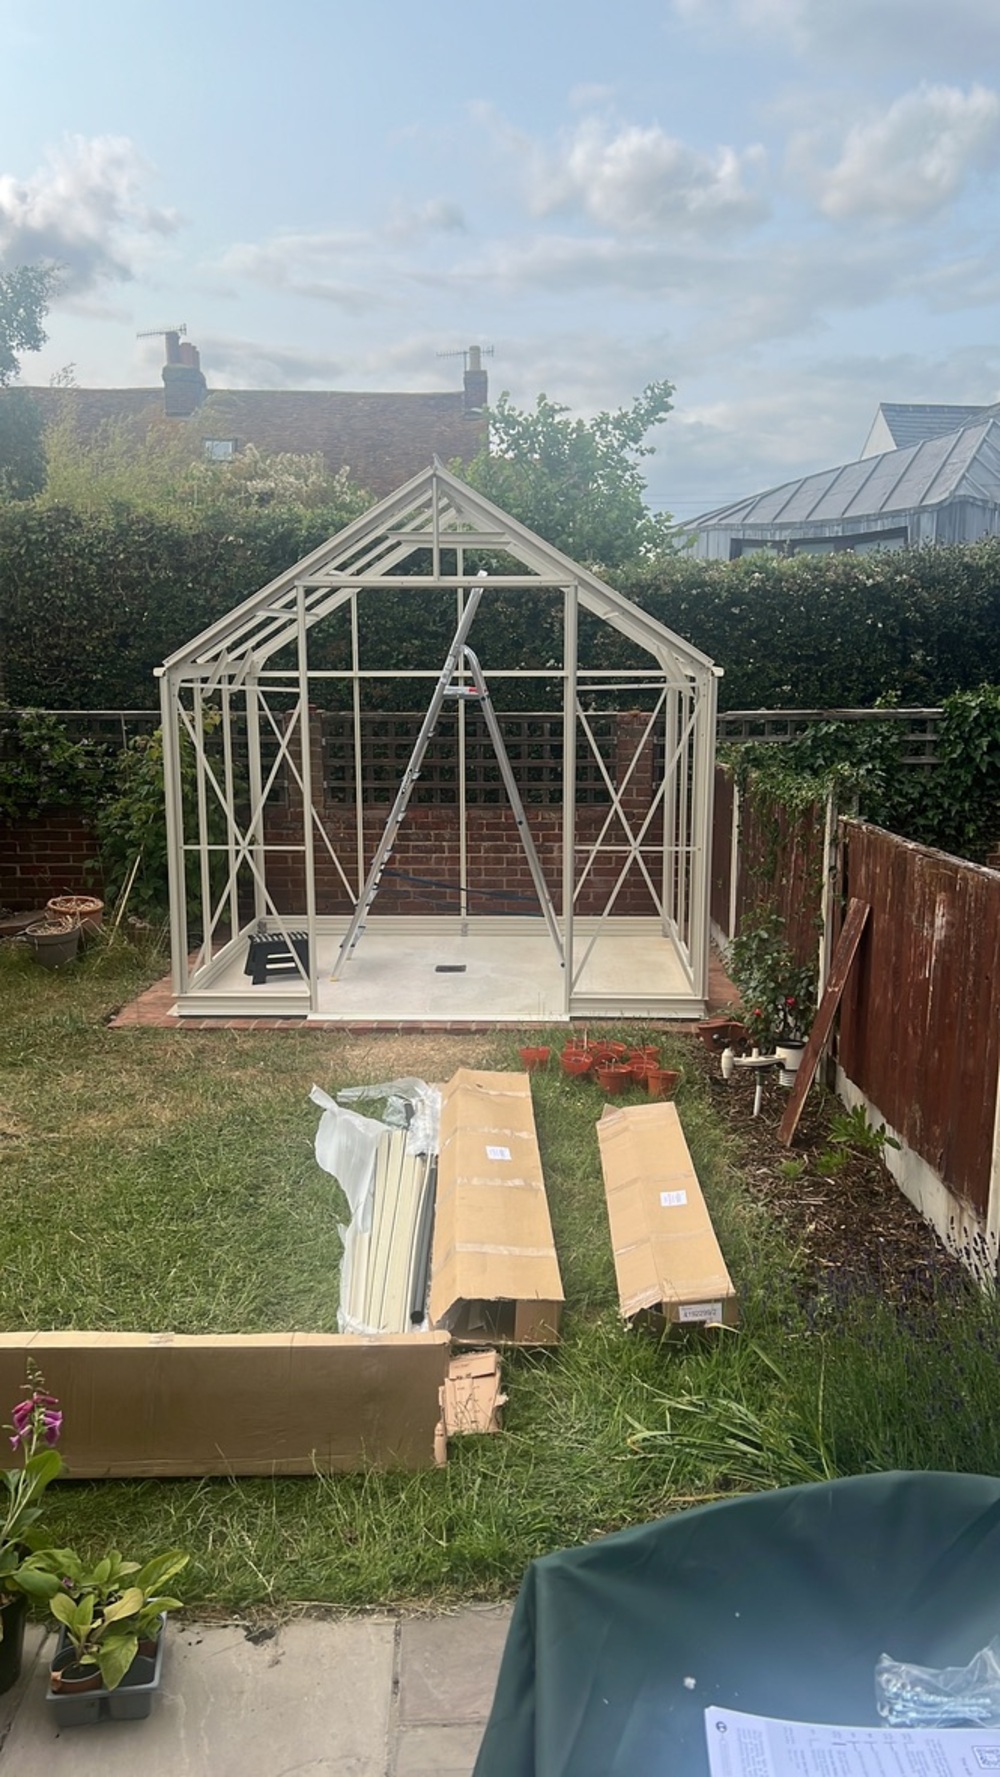
With the base complete, the greenhouse arrived in the first week of June, assuming we take 21st June to be the first day of Summer, I’m still counting this as Spring. The weather certainly felt more like spring. Where we’d had a few weeks of hot mid to high 20˚C days through most of May, June arrived with fairly brisk north-westerly winds and heavy showers.
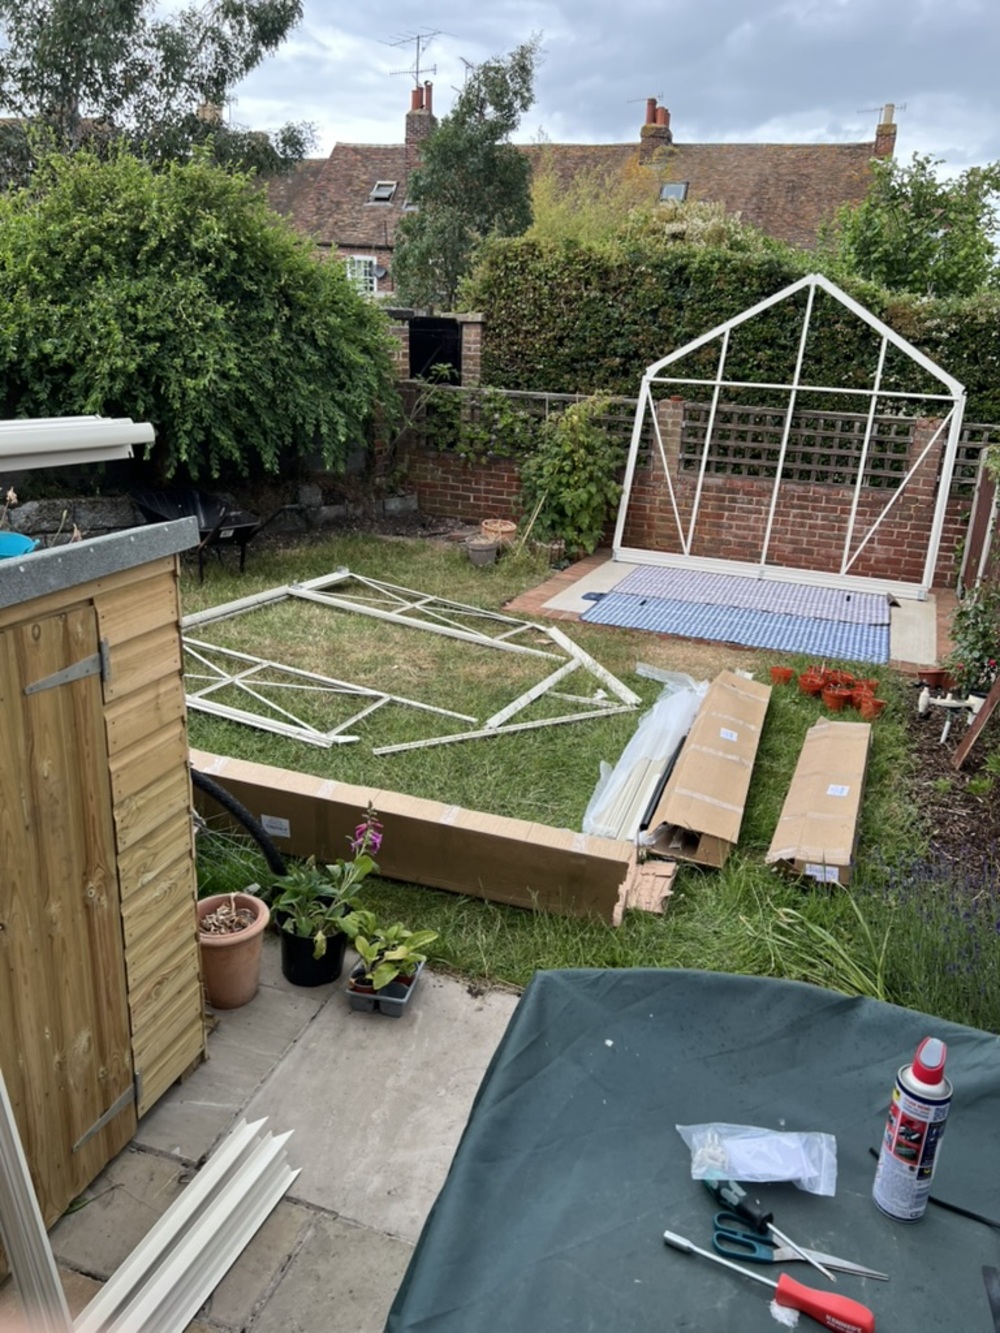
The greenhouse was from Rhino Greenhouses, and overall I’d say it’s an excellent product. It arrived in 4 long skinny boxes and a big heap of glass. The instructions sadly make assembly more difficult than necessary. While the instructions are written in good English, they’re not written with clarity or precision as you’d hope. Having a background in technical standards, the manual was very frustrating to follow. There are lots of forward references to later steps and imprecisely worded things like “insert 2 extra bolts if you have integral 2ft or 1ft staging”. If I have both do I insert 4? Do they go above or below the louvres when they’re fitted? Instructions notwithstanding, the frame went up very fast, on my first day of assembly I’d built the 4 sides by mid-afternoon. A friend came over to help me get the four sides fitted together, and put in most of the roof structure. Sadly, weather and travel worked against me for a few days, so glazing didn’t start until the following Sunday.
Fitting the glass was hard. The instructions on getting the “beads” in were not very clear, and using the glazing paddle and mallet required more percussion than I (initially) thought was appropriate around big sheets of glass! Pushing the beads in by hand however was very, very hard on my hands, especially my thumbs. In conjunction with moving fragile and heavy bits of glass, this part of building the greenhouse was very frustrating. Eventually, through some desperation, I started to use the glazing paddle and mallet with more gusto and got the knack for it, and it made the rest of the job substantially easier (although still not a walk in the park)
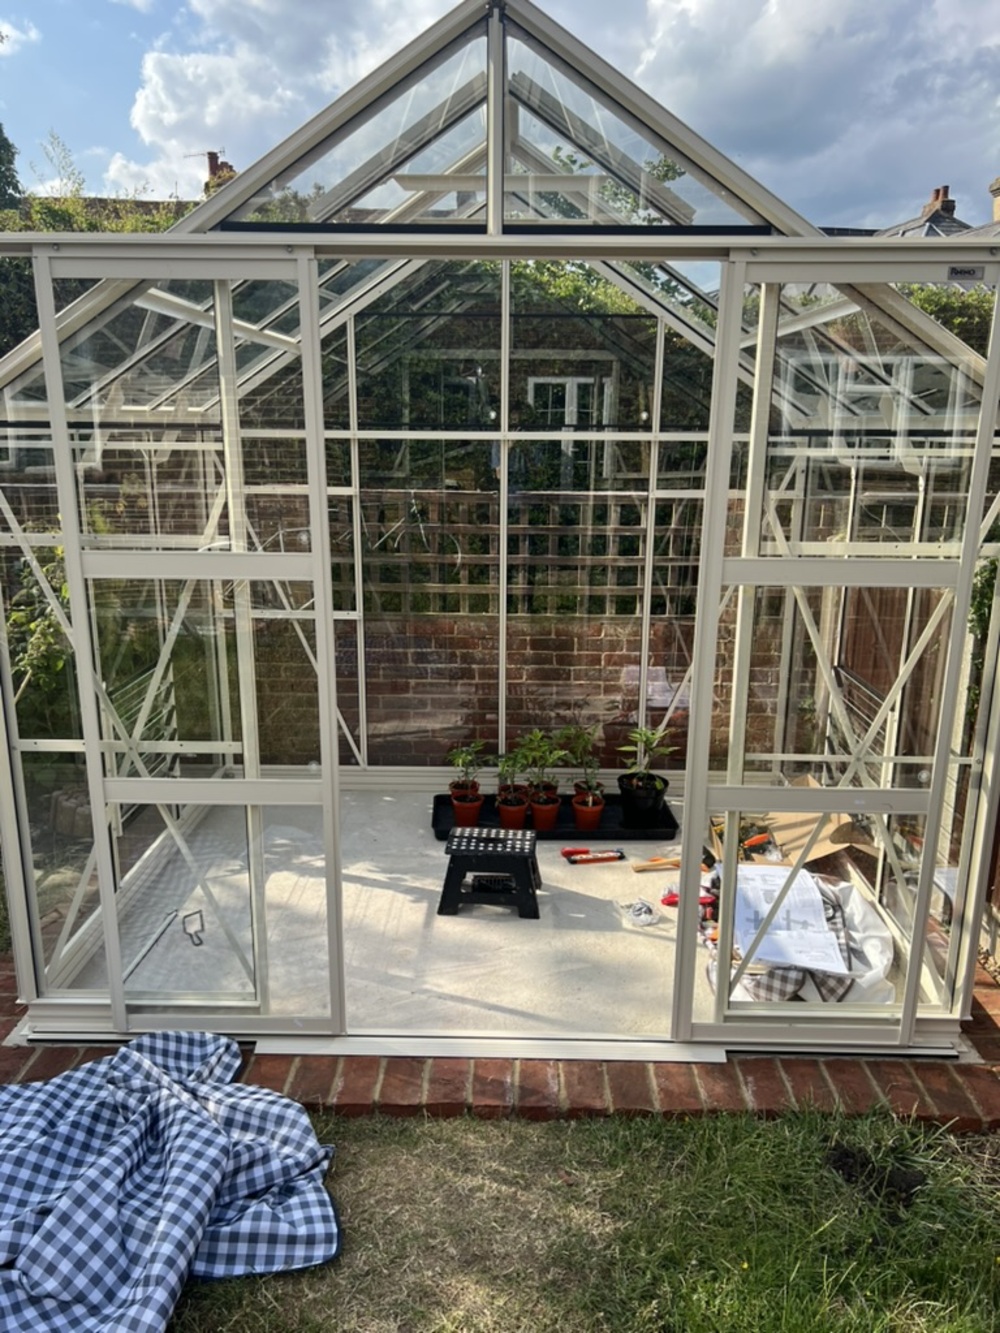
With the glass in, the greenhouse felt completely solid. I’m very impressed with the overall build quality of the greenhouse, and would recommend them - even if the instructions leave something to be desired. The greenhouse is anchored into the concrete base with some hefty lag bolts, so hopefully won’t blow away in the wind! It has also survived a few errant football kicks from the next door neighbours – I’m glad it’s toughened glass!
There’s still a bit more to do, putting up the integral staging and filling it with plants, but for now the greenhouse is usable and our chillis and tomatoes are now out enjoying some non-artificial sunshine.
What’s next?
Next jobs in the garden at home: the raised border down the north-east facing wall is crumbling, so that is to be rebuilt further out giving us a deeper border for planting under the pearl bush. We also have some new fence panels and capping to install. Other than that, we can enjoy our garden and start to ferry things up to the allotment.